WindFlow Documentation
Table of contents
Getting started
Welcome to WindFlow! So you have successfully installed the WindFlow app on your site.
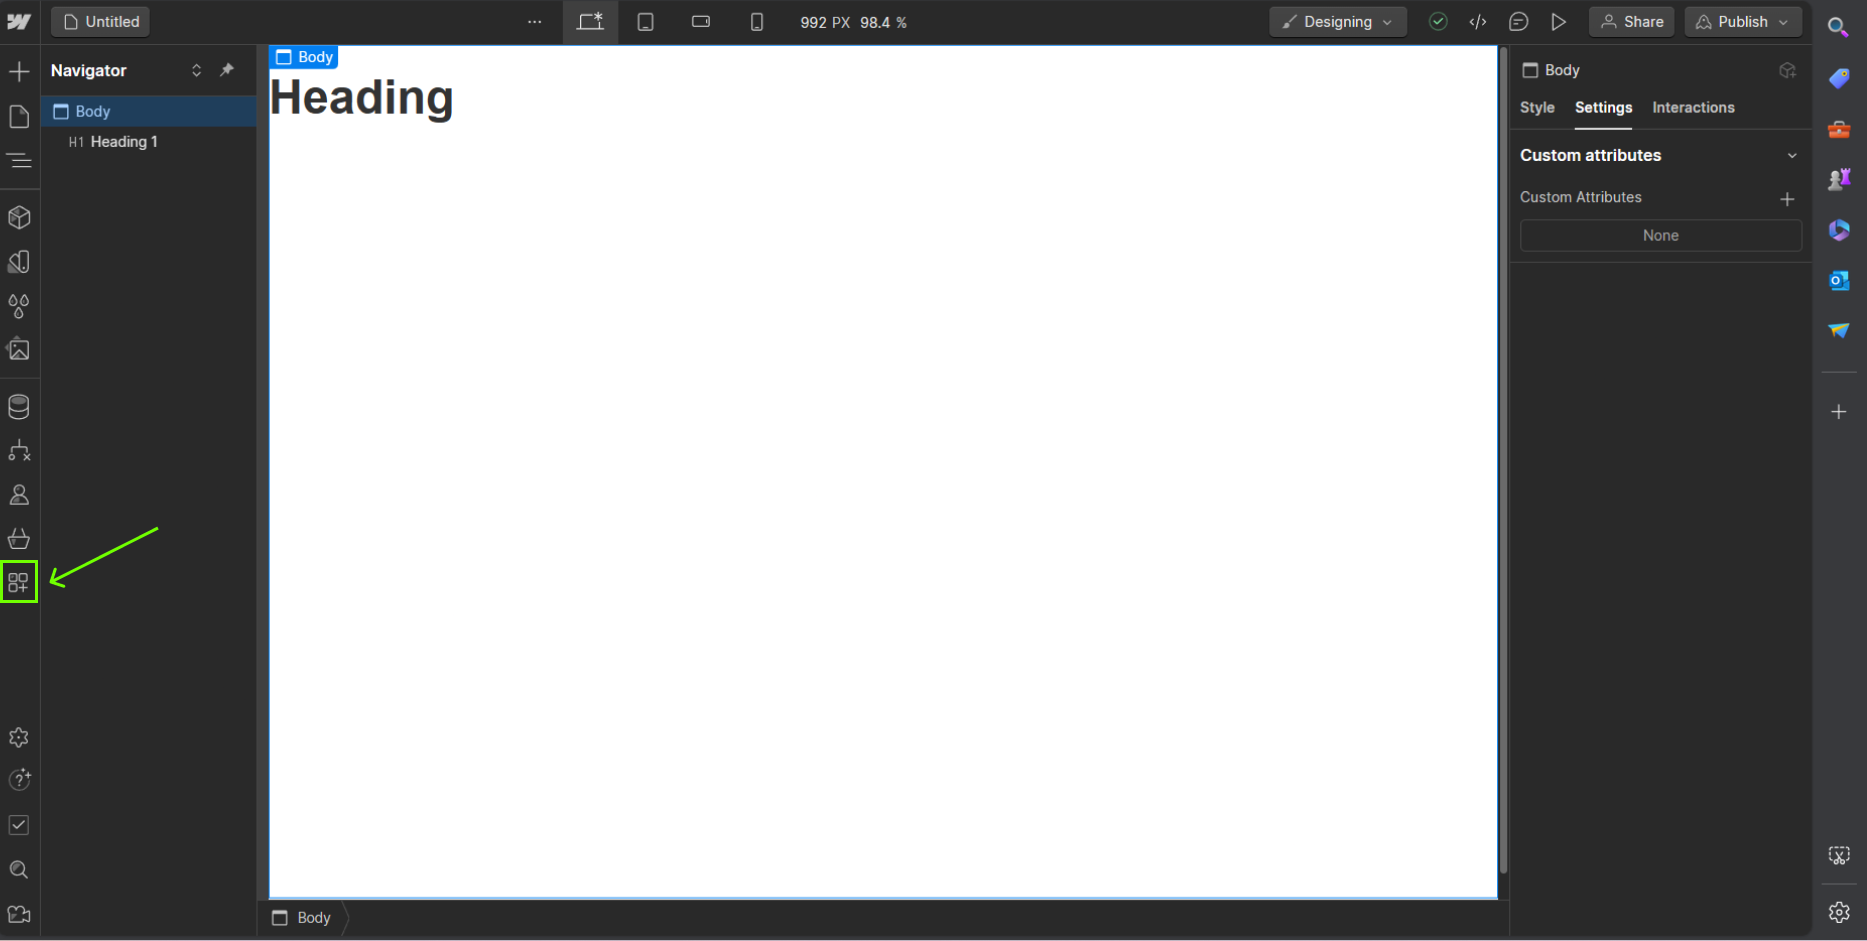
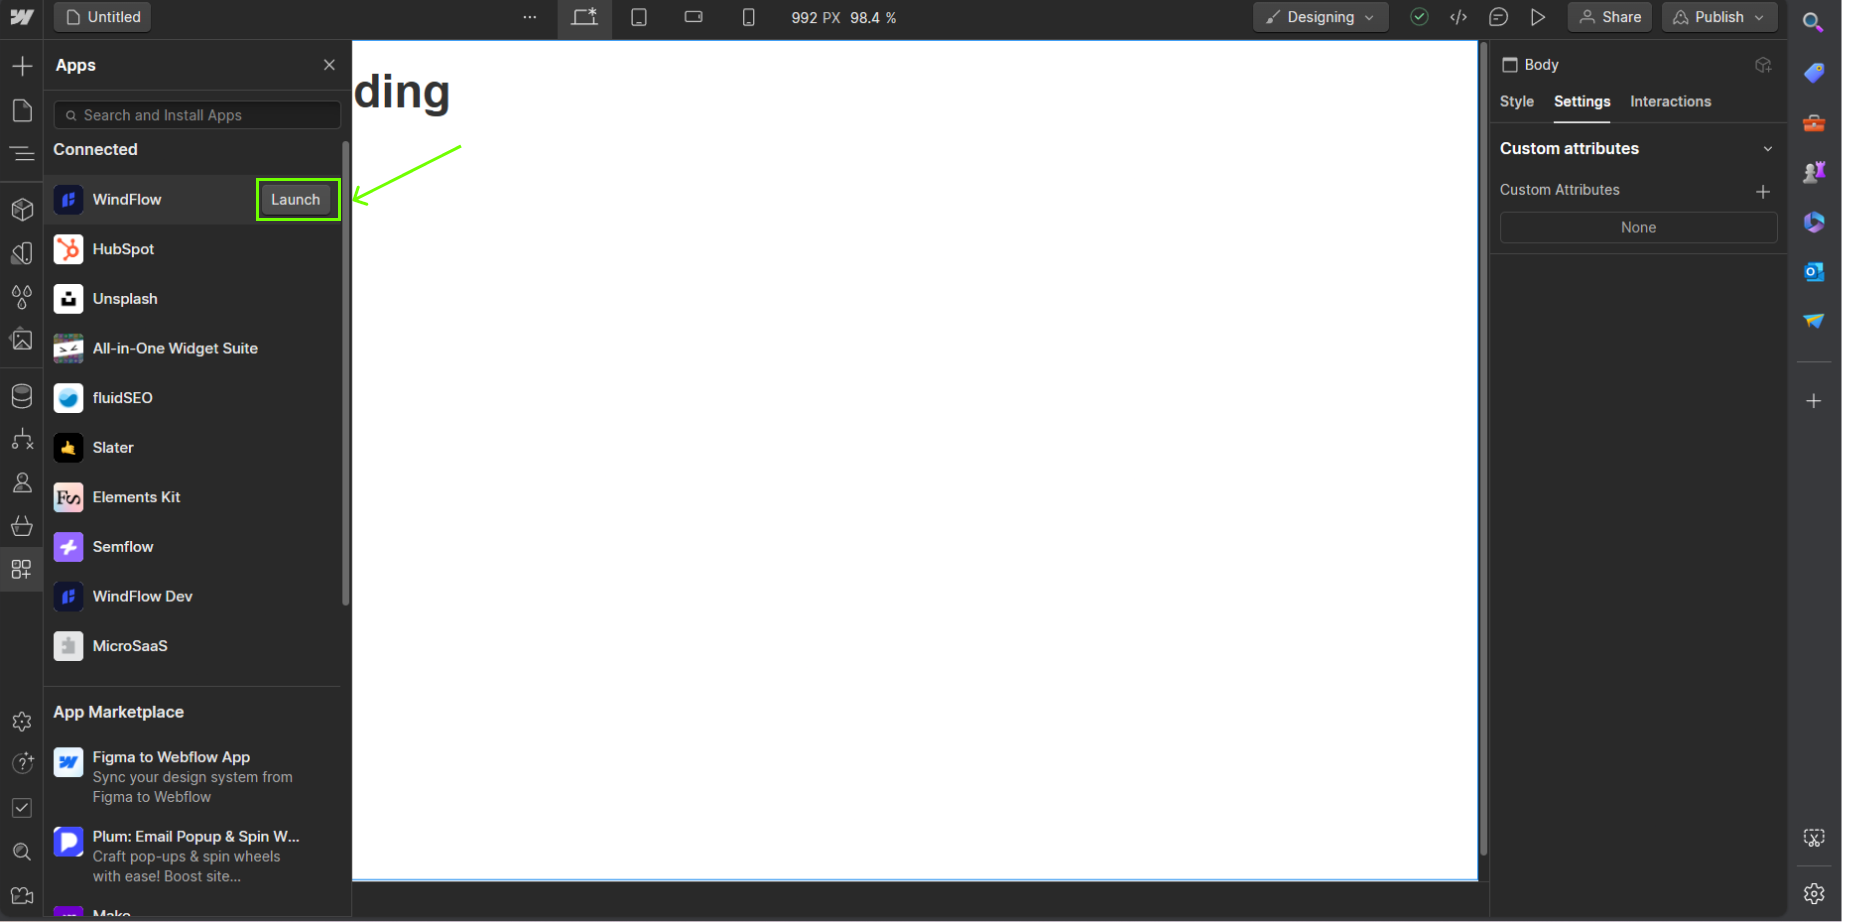
Open the page you want to design. Open apps on the left sidebar.
Launch WindFlow.
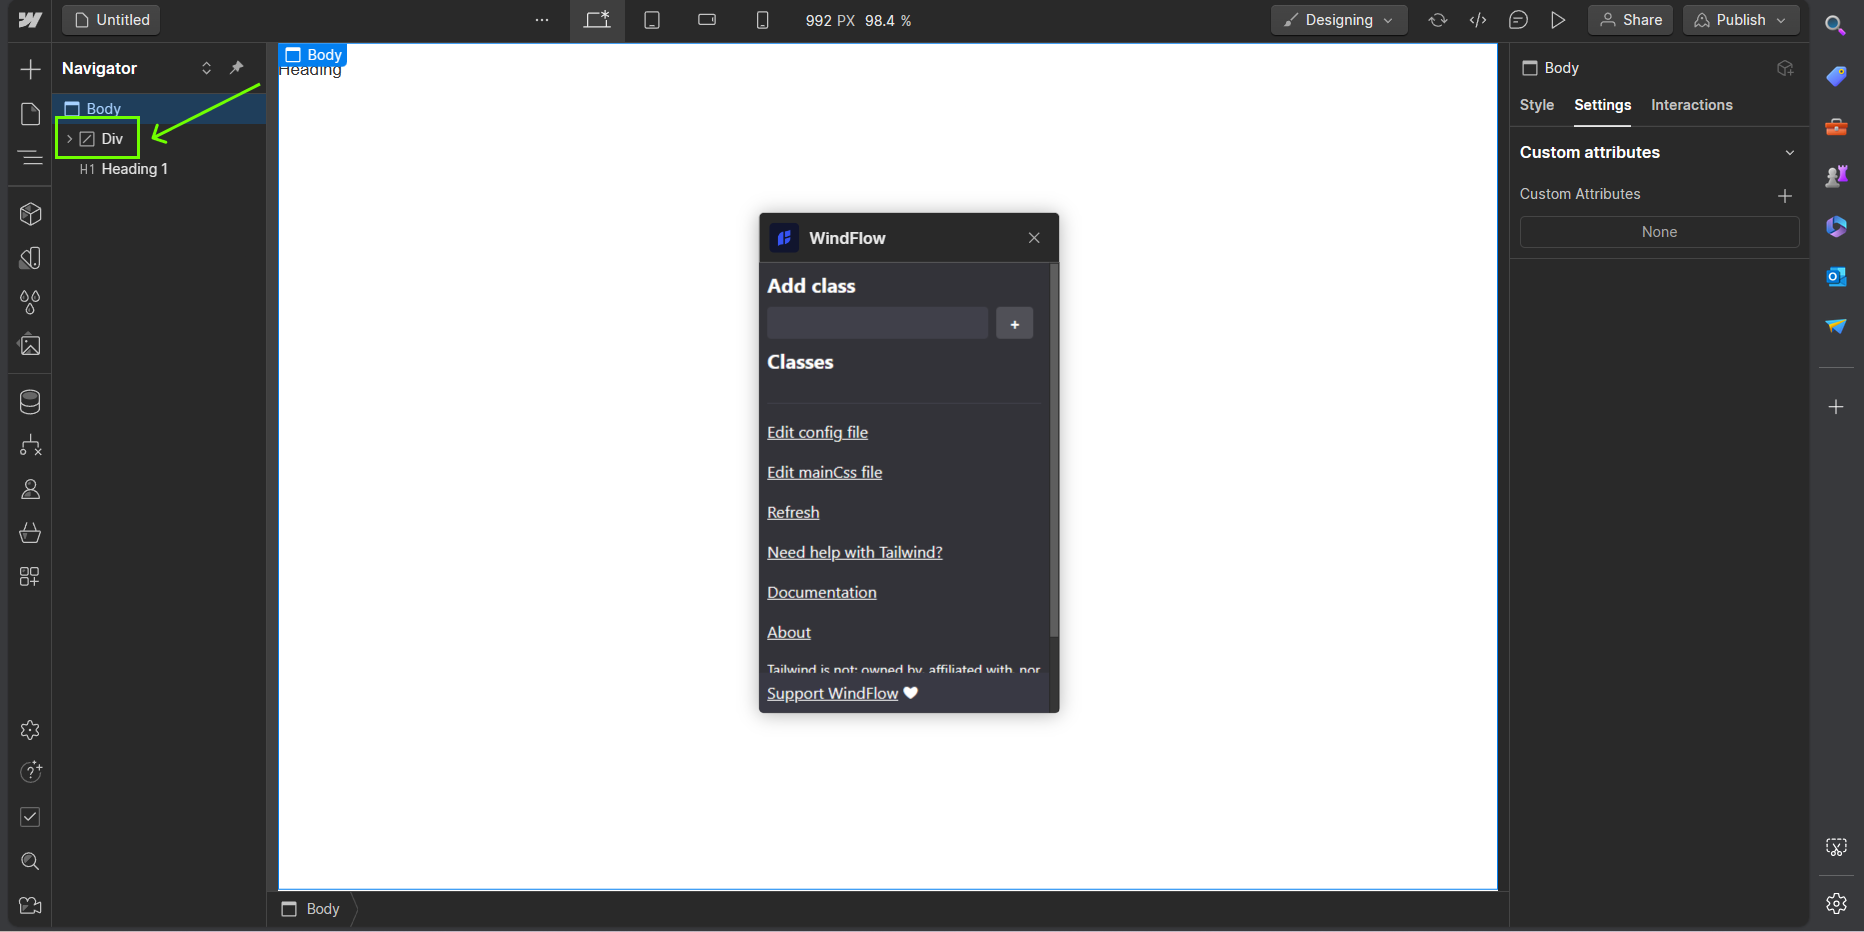
You will notice an element created at the top of the Body. It’s a hidden element that contains information that allows WindFlow to work. It also contains the <style> tag that contains the CSS styles generated by WindFlow.
Do NOT remove this element. Contact me if you encounter an issue with the generated element.
Basic functionalities
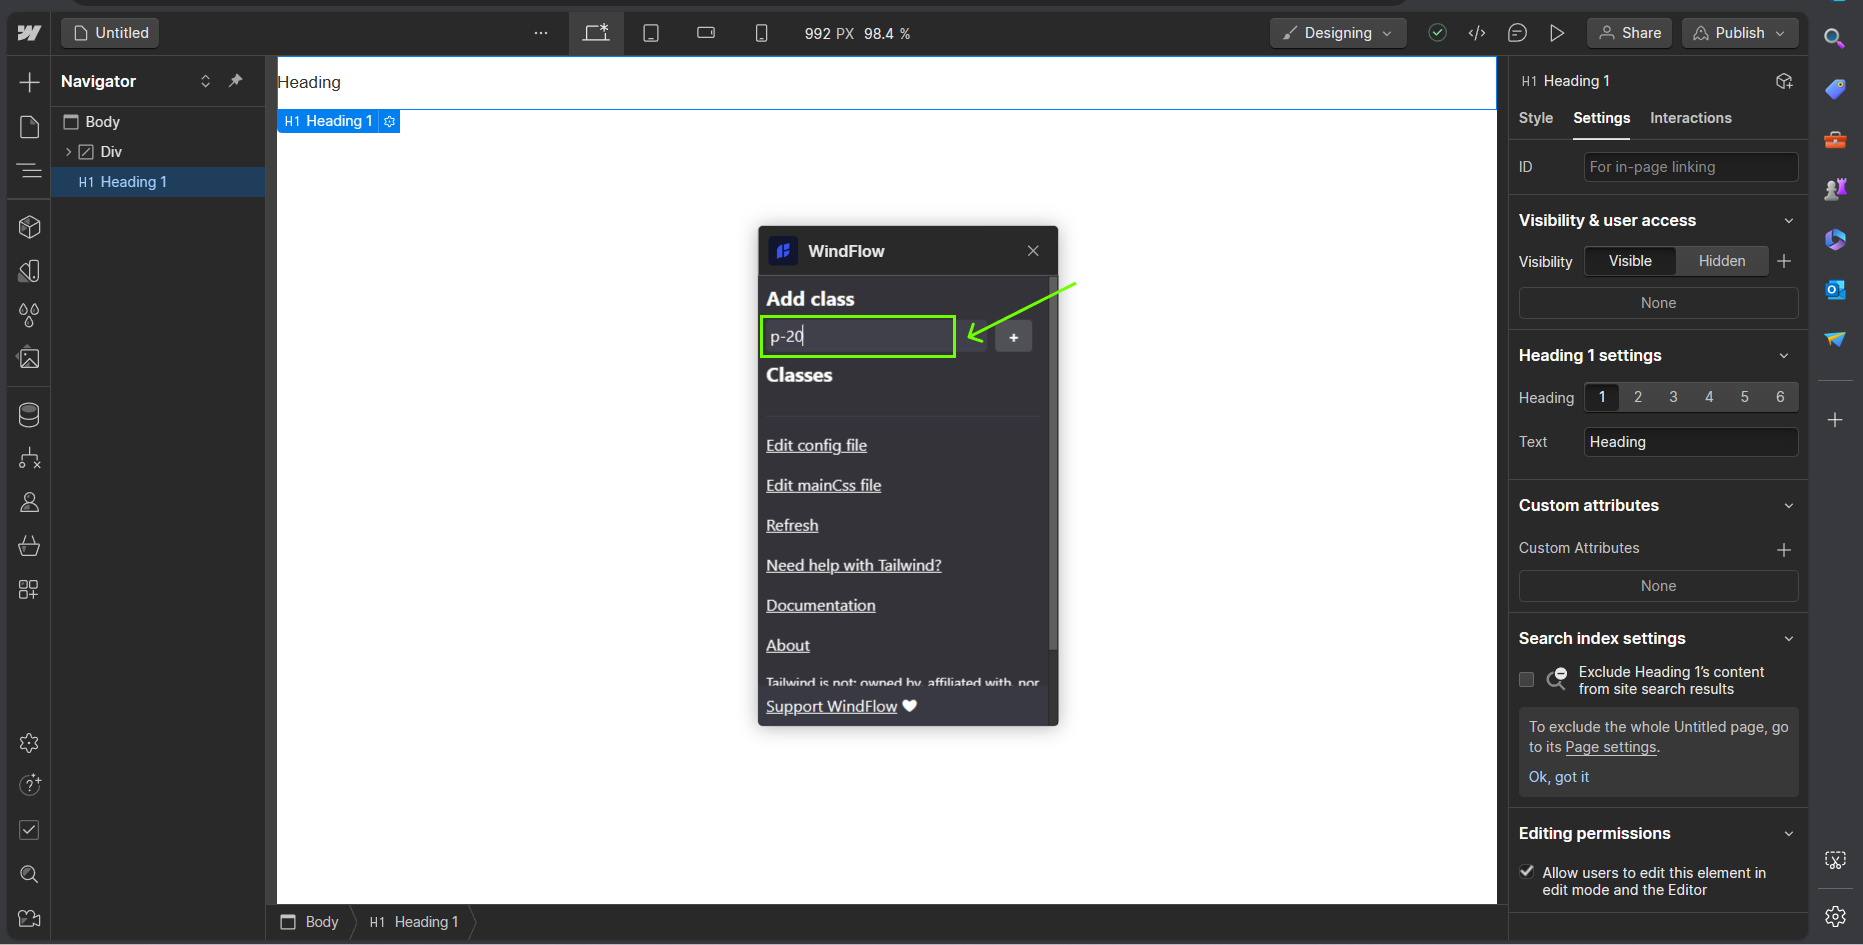
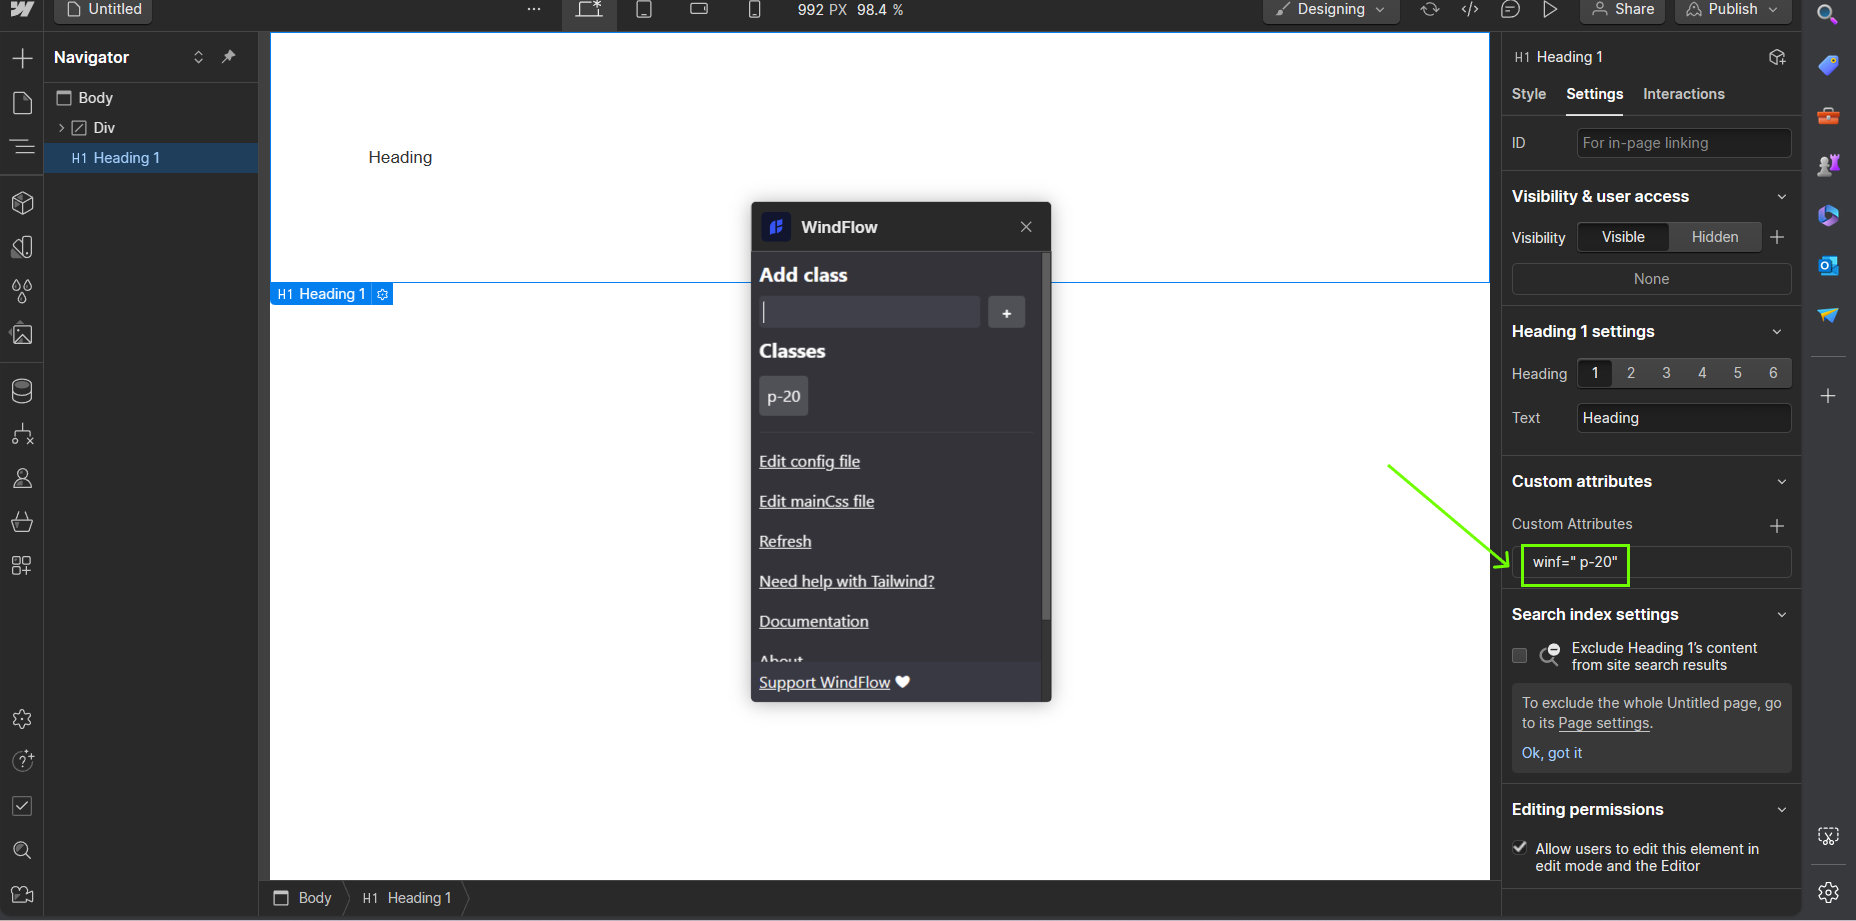
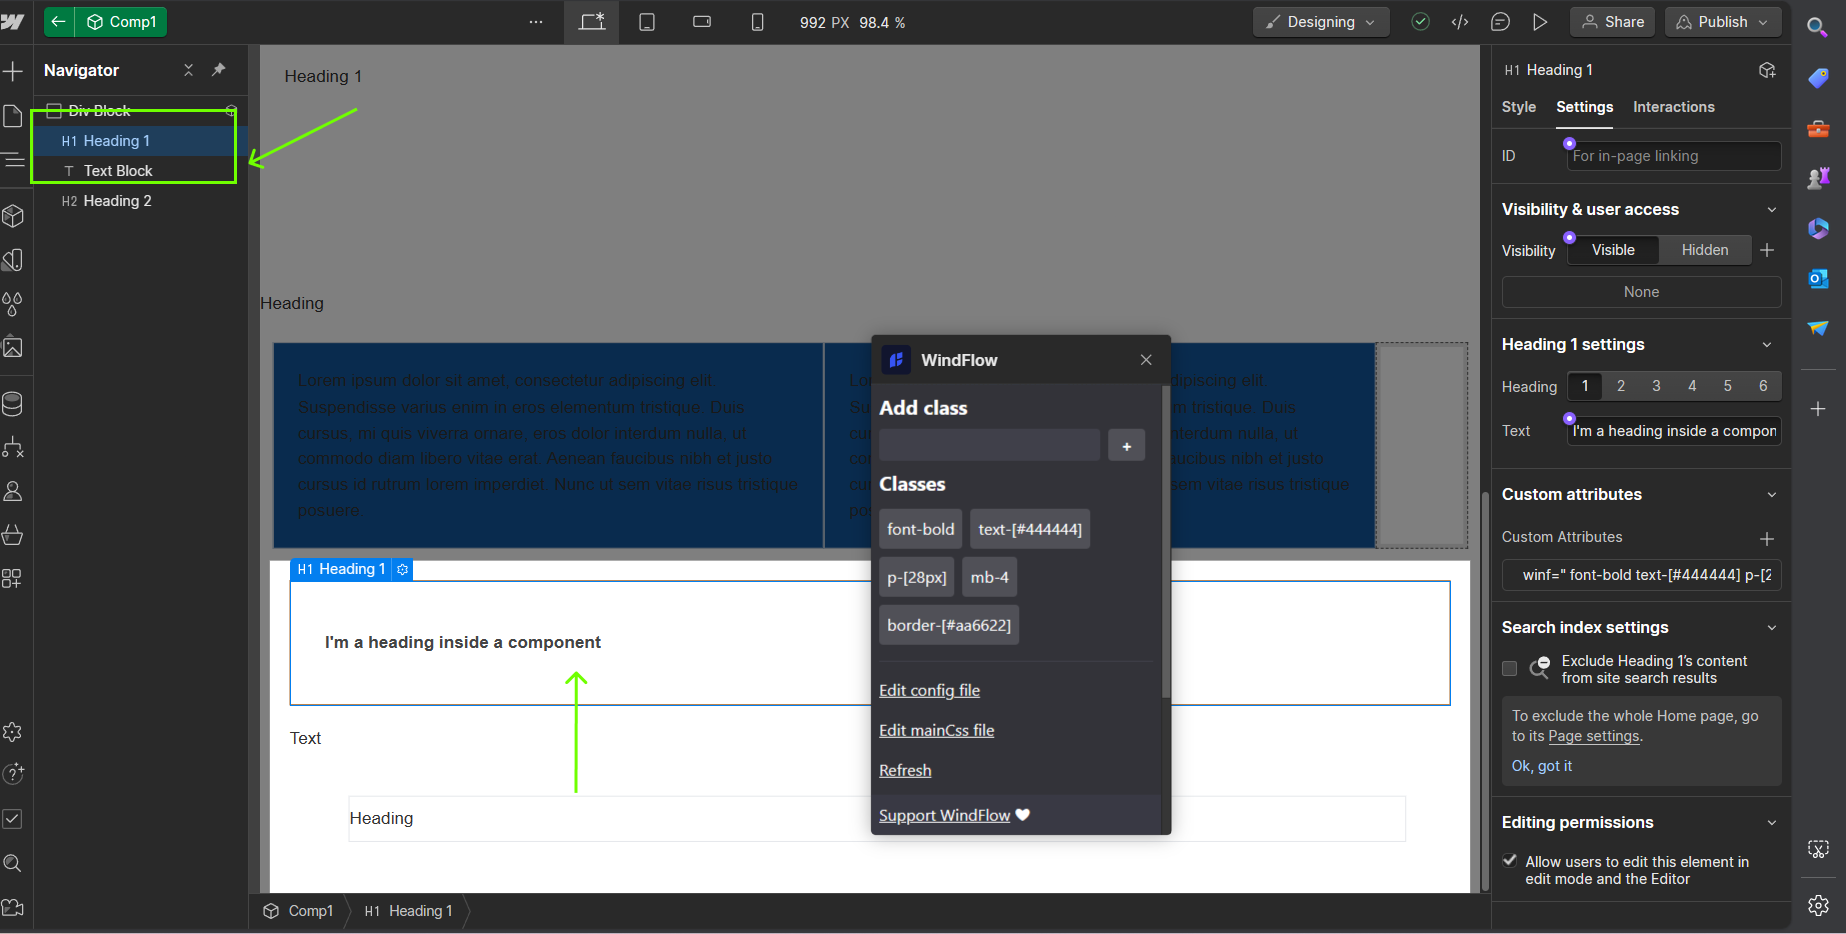
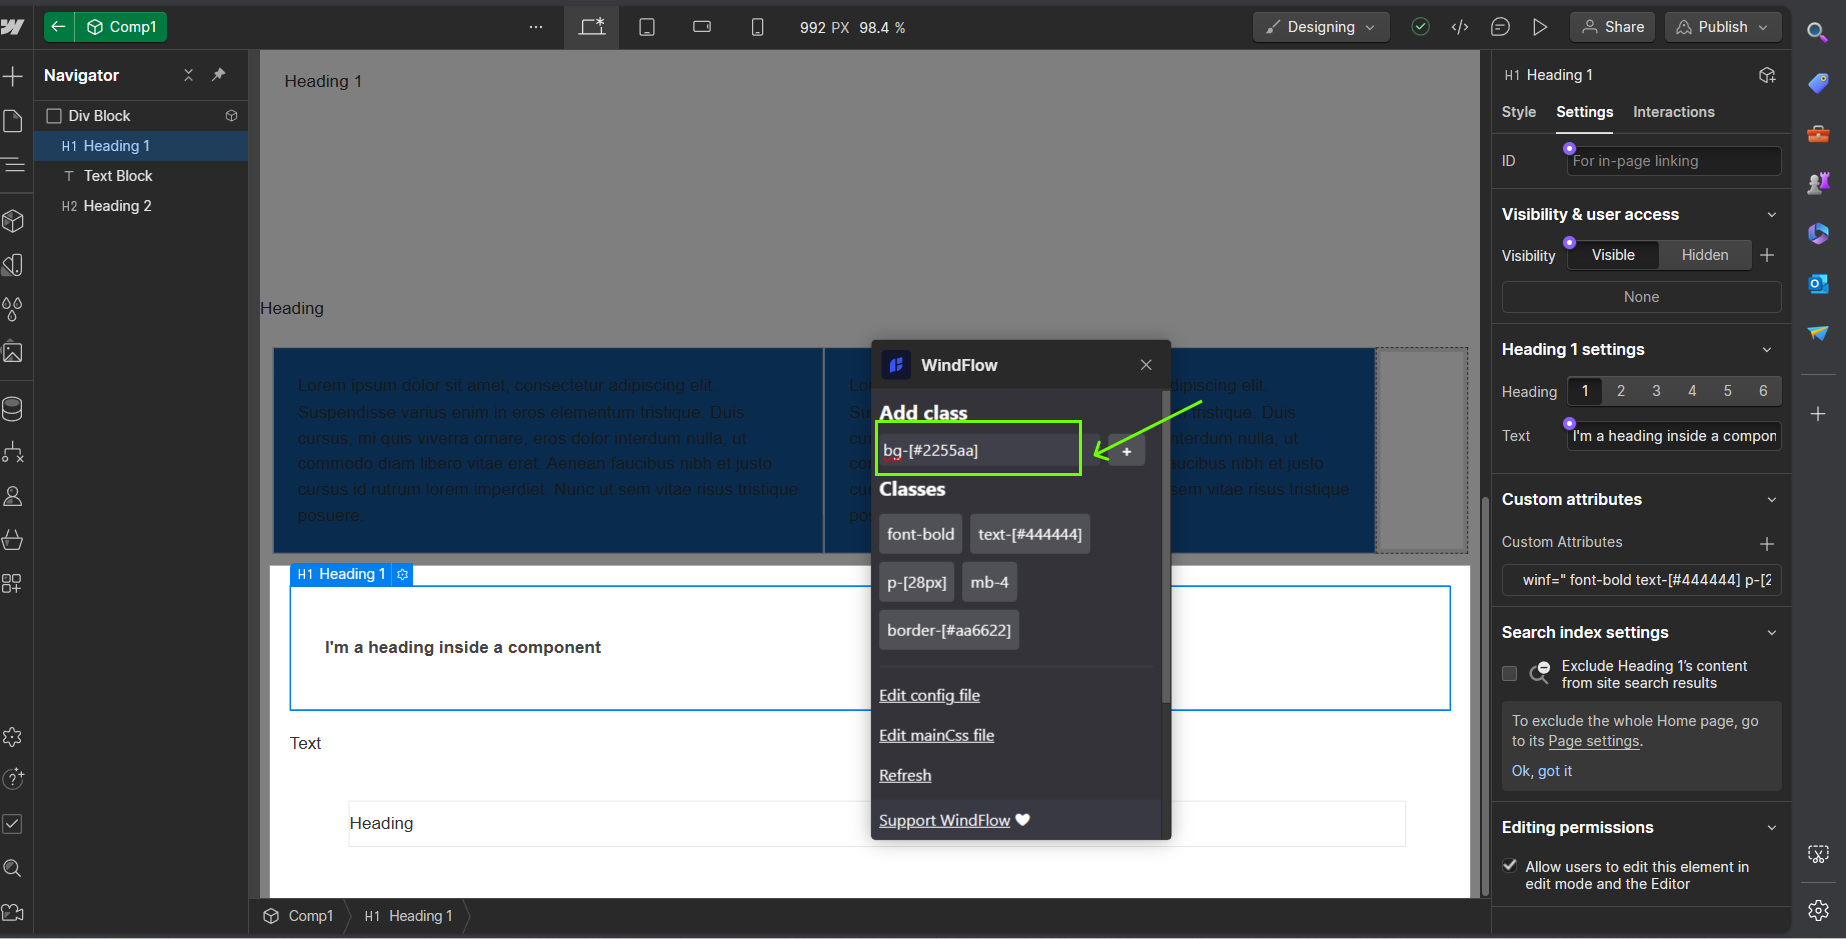
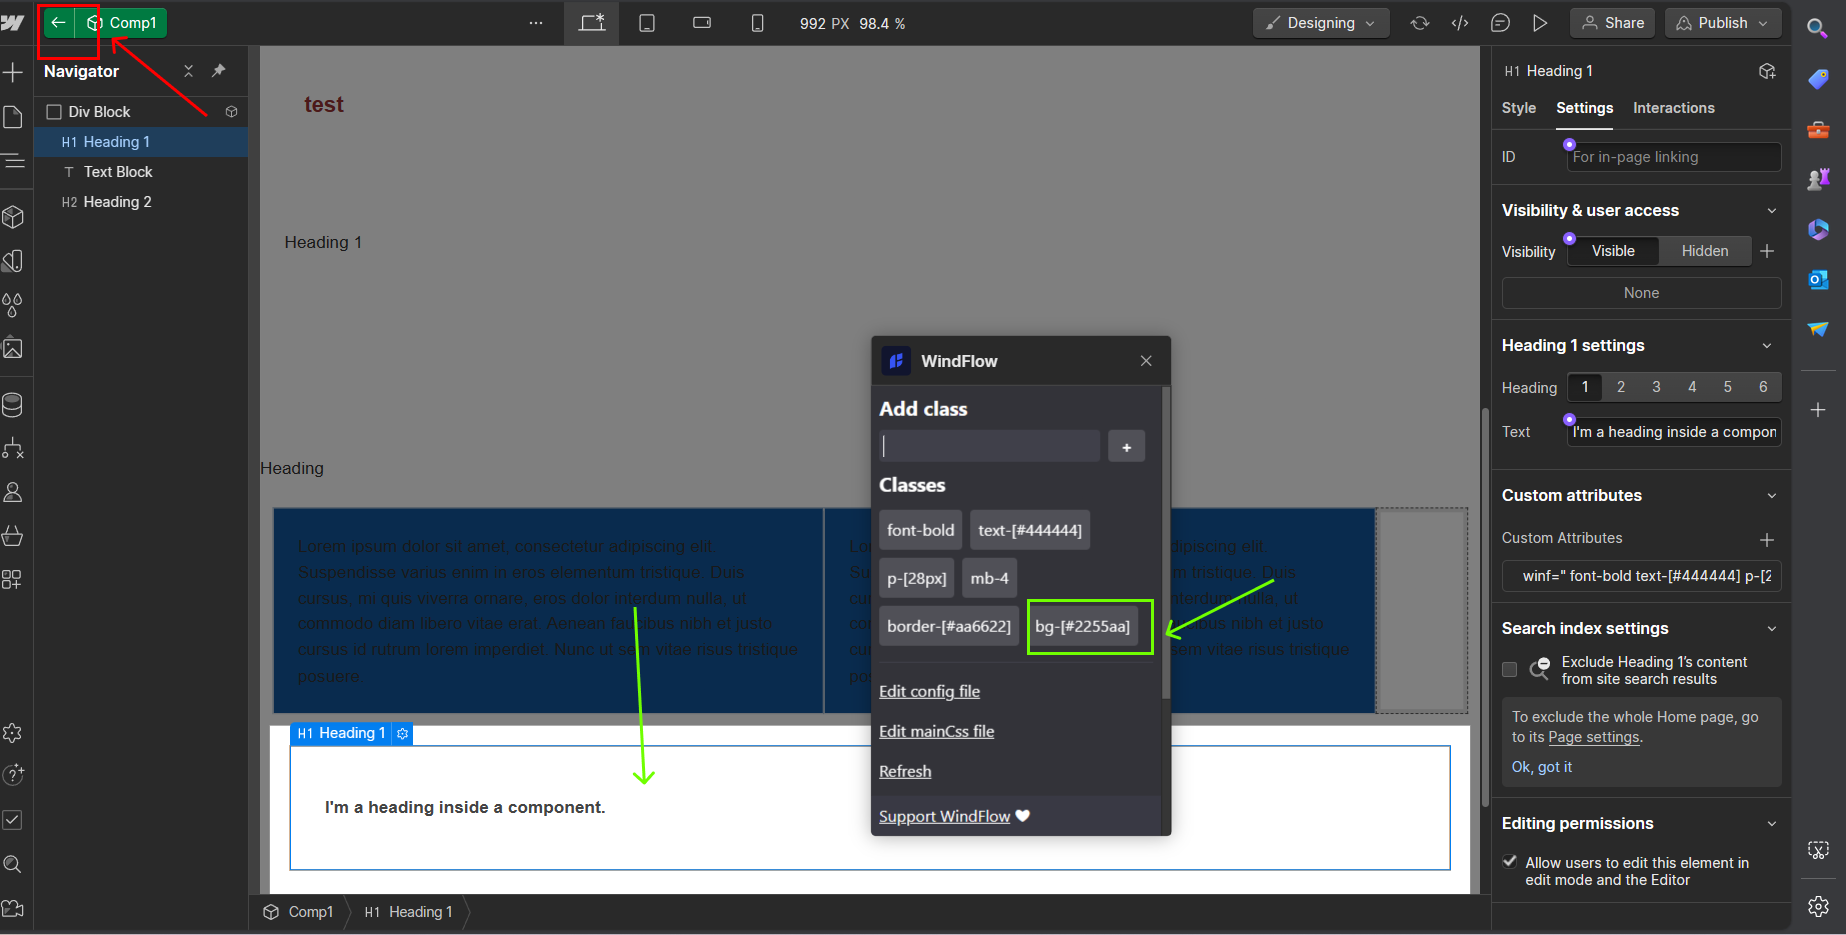
Start by selecting an element. Add some Tailwind class.
If you’re unsure of what Tailwind classes to use, please consult the Tailwind documentation.
Some examples: p-20 means a padding of 5rem (which is 20 divided by 4). bg-[#ff0000] means a background of hex value #ff0000. mx-auto means a margin left and right of auto. flex means display flex.
The style will automatically reflect.
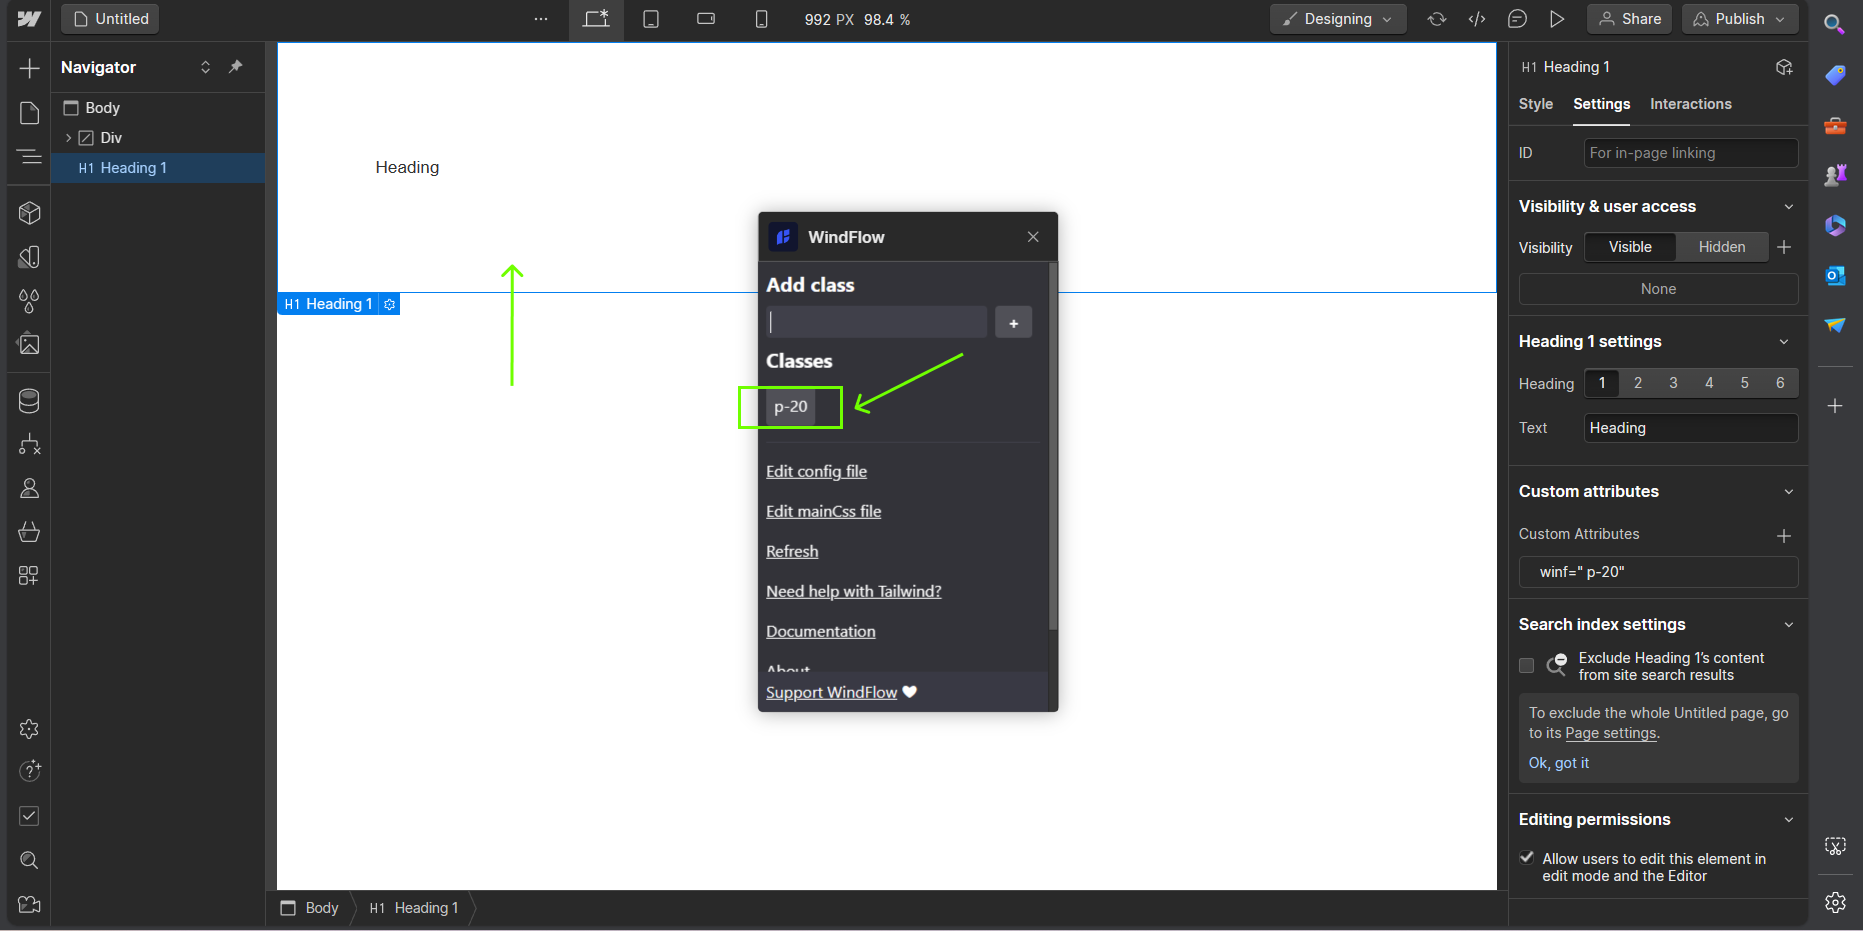
Under the hood, there is a winf attribute which stores the classnames. Windflow was originally planned to use the actual class attribute, but some special characters of Tailwind classes create conflict with Webflow default formatting of classnames. If you encounter an issue with winf attribute, please contact me.
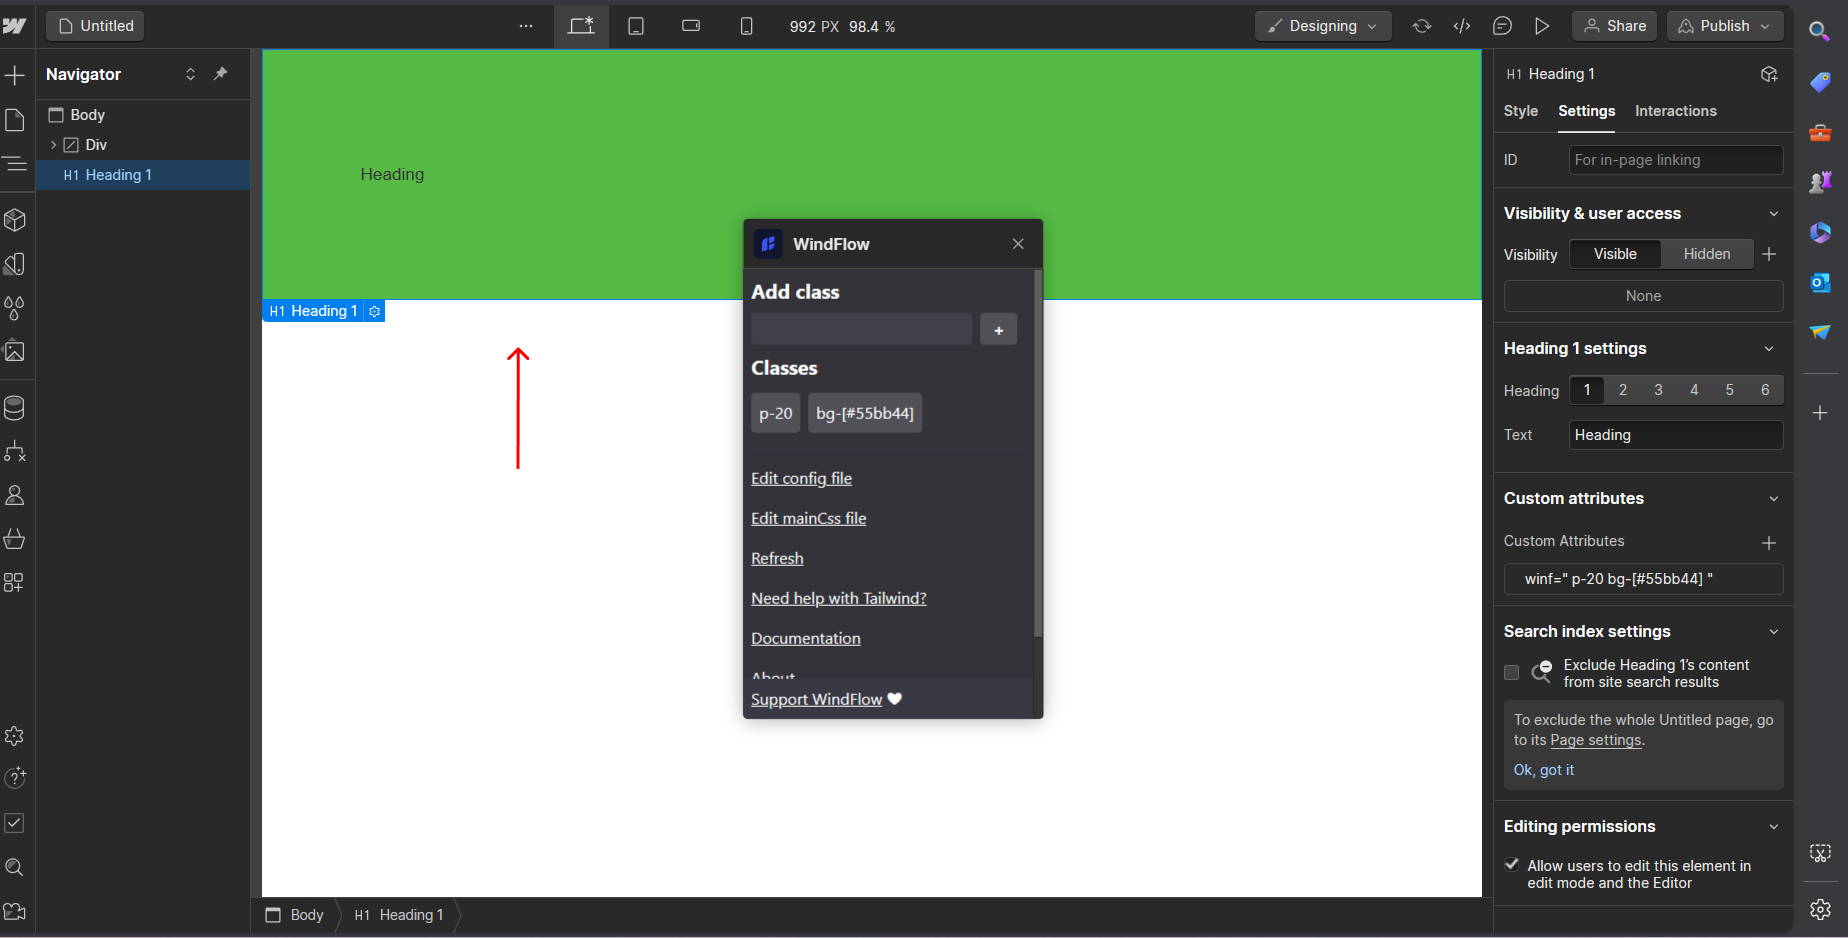
To delete classes, select the classes you want to remove. Then click the X button.
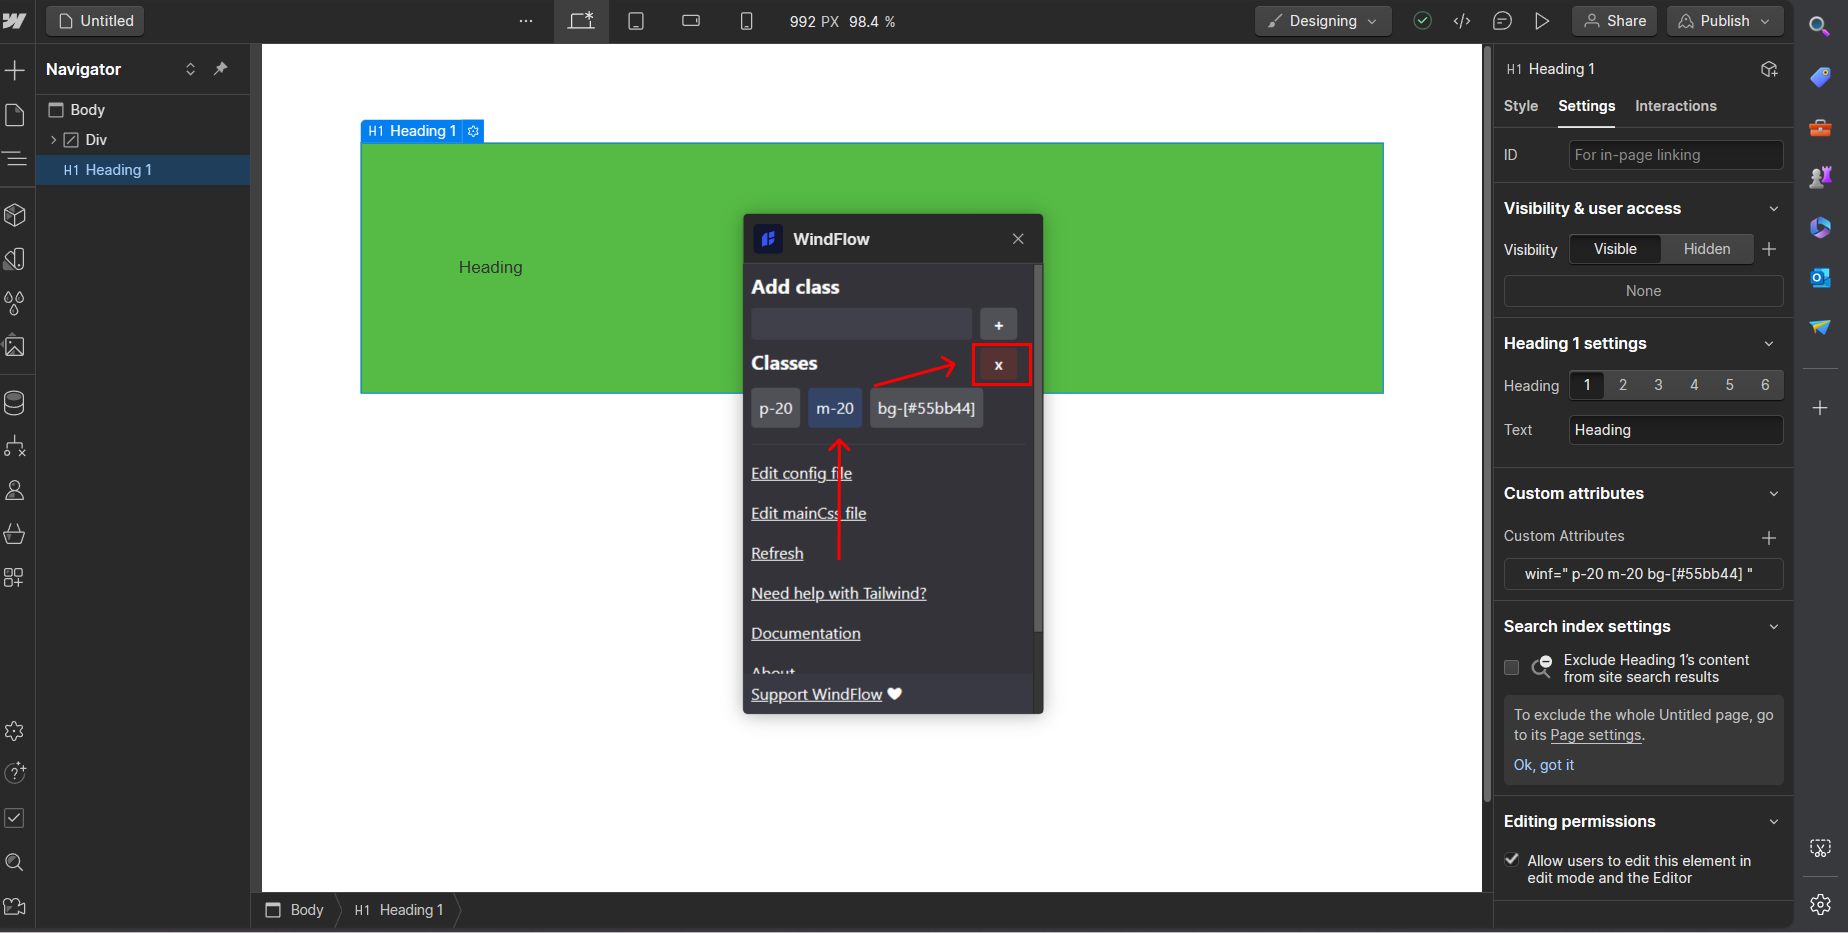
The deletion of the class will automatically reflect.
Custom configurations
You can also edit the Tailwind configuration. If you have used Tailwind before, you already know what I mean.
If you are new to Tailwind, the config file is basically the file where you add your definition of colors, sizes, shadows, media query etc. So instead of bg-[#ff0000], you can simply call it bg-red.
Learn more here on how to customize your theme config.
Click Edit config.
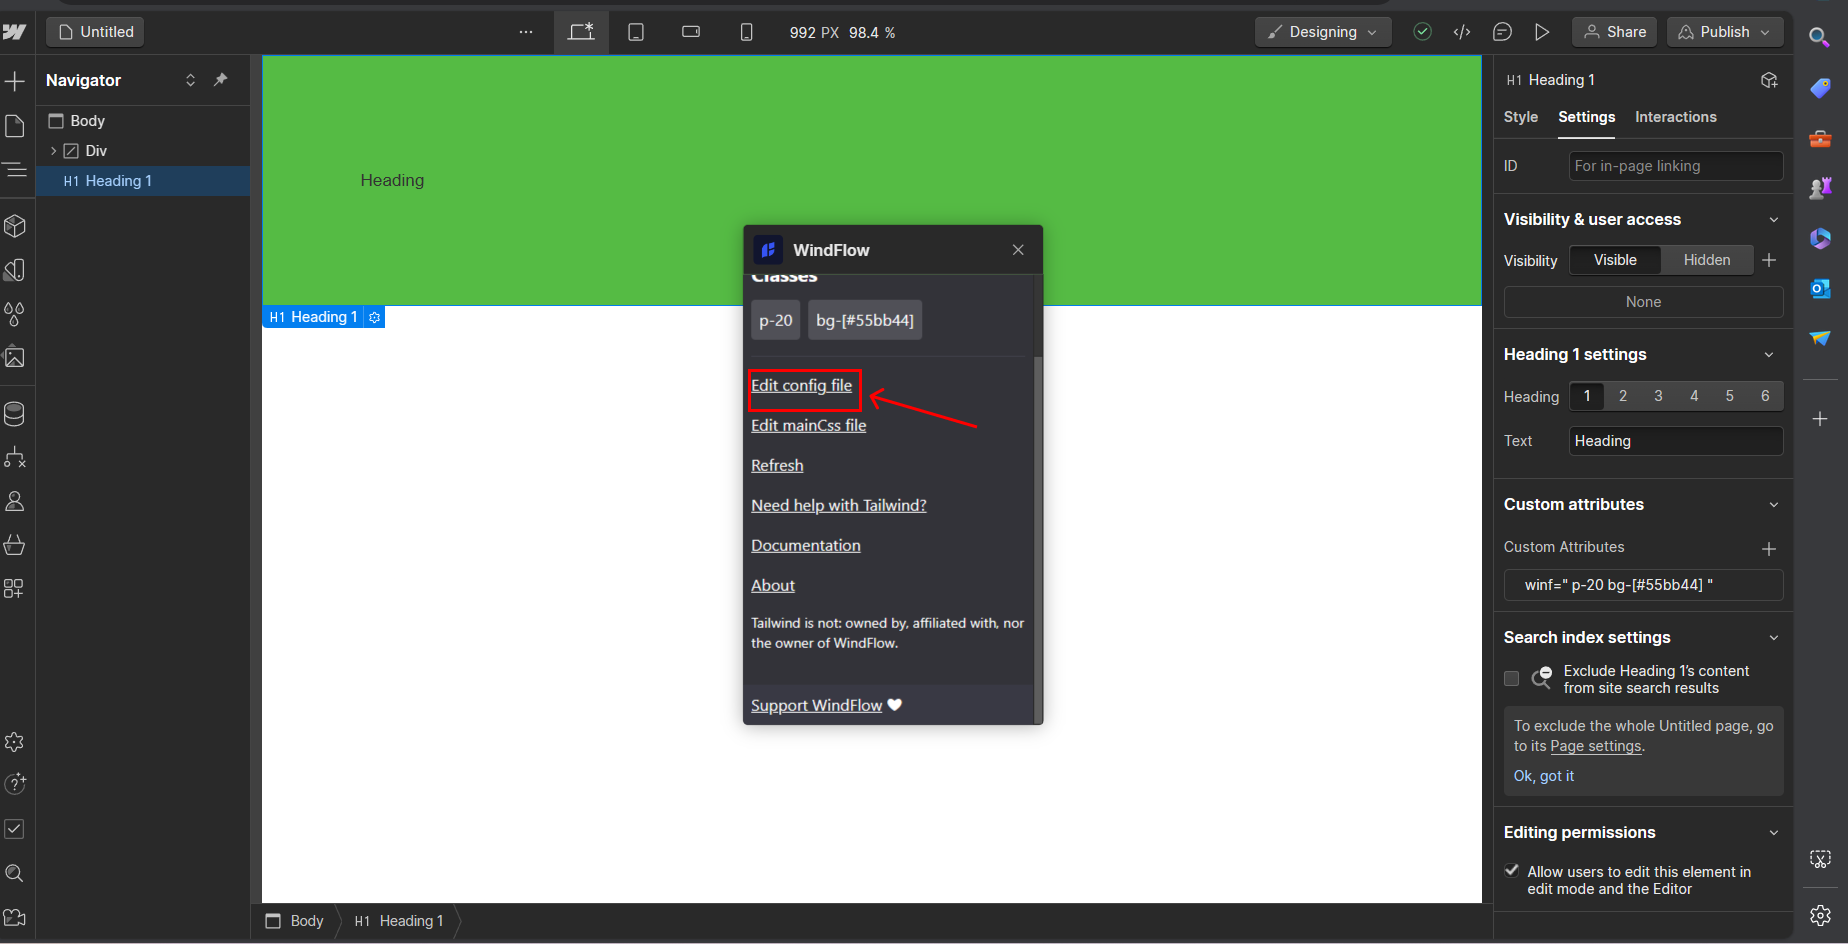
You will see the default Tailwind config that WindFlow provides.

The only config I provided is the media query. I aligned it to the Webflow default queries. Default is 992px and above. lg is 991px and below. md is 767px and below. sm is 478px and below.
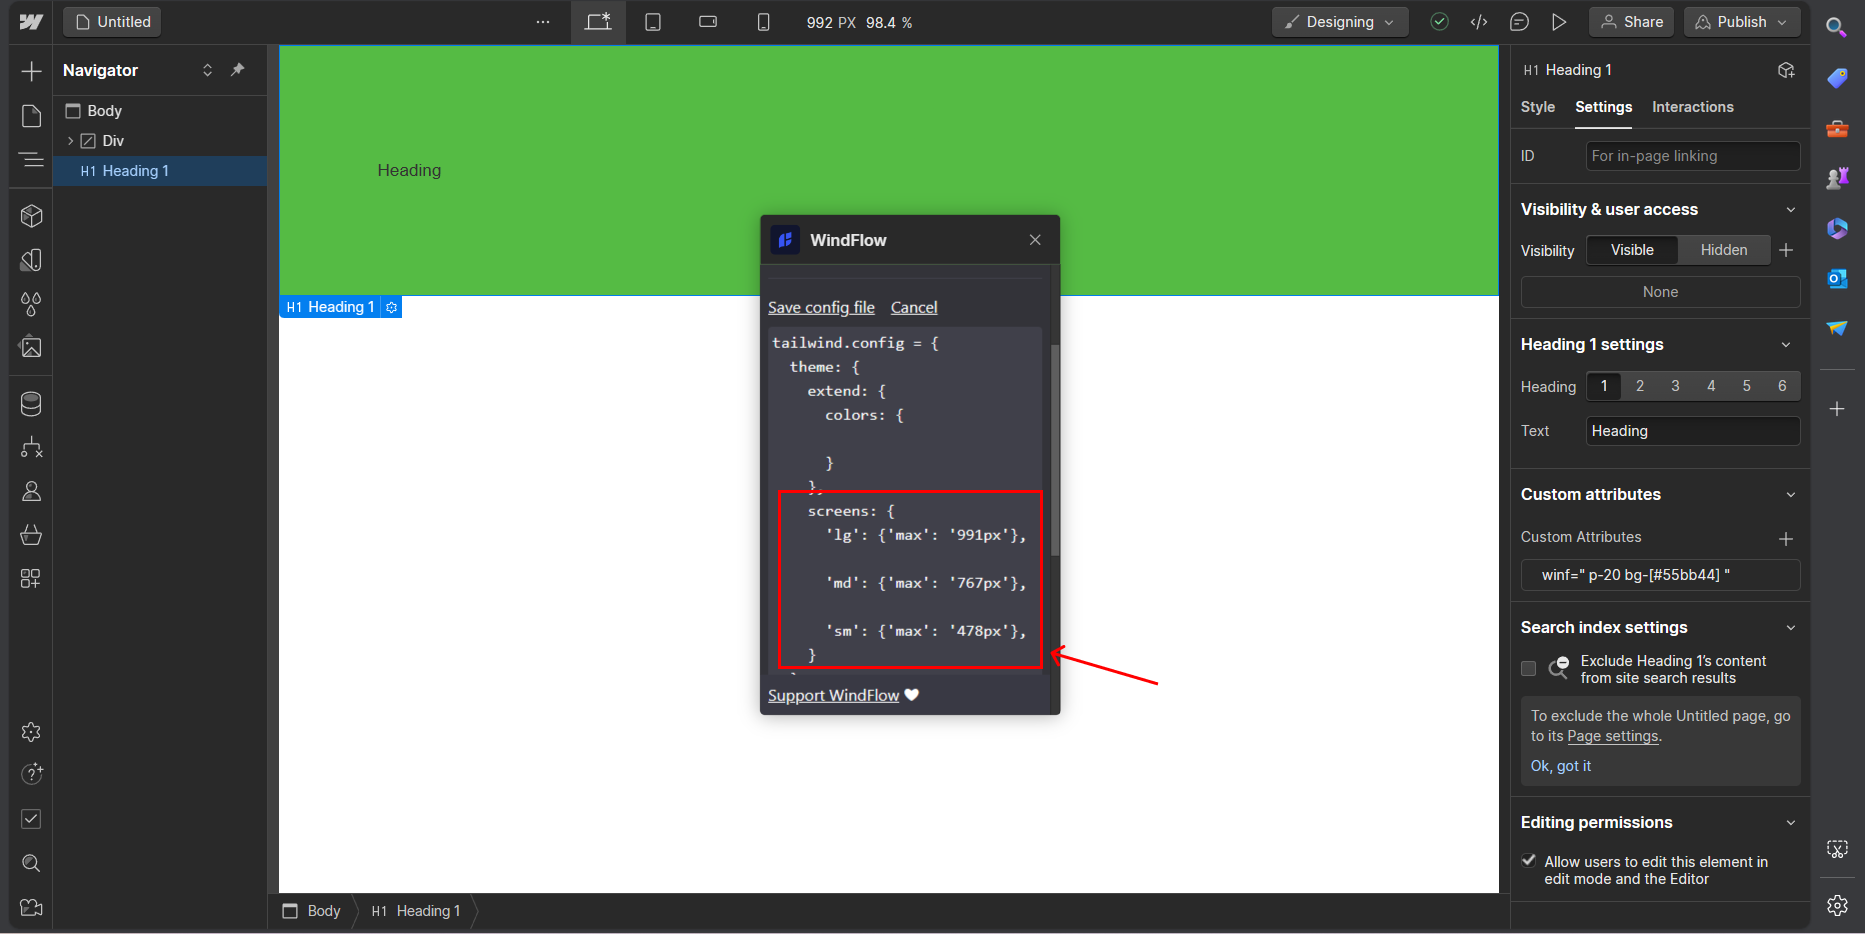
You can also edit the mainCss file. It is basically just a css file. You can define semantic classnames like btn or style semantic tags like h1. So what’s the difference? The mainCss just provides some custom directives. Learn more from the Tailwind documentation.
You will that see the default CSS that WindFlow provides is pretty much empty.

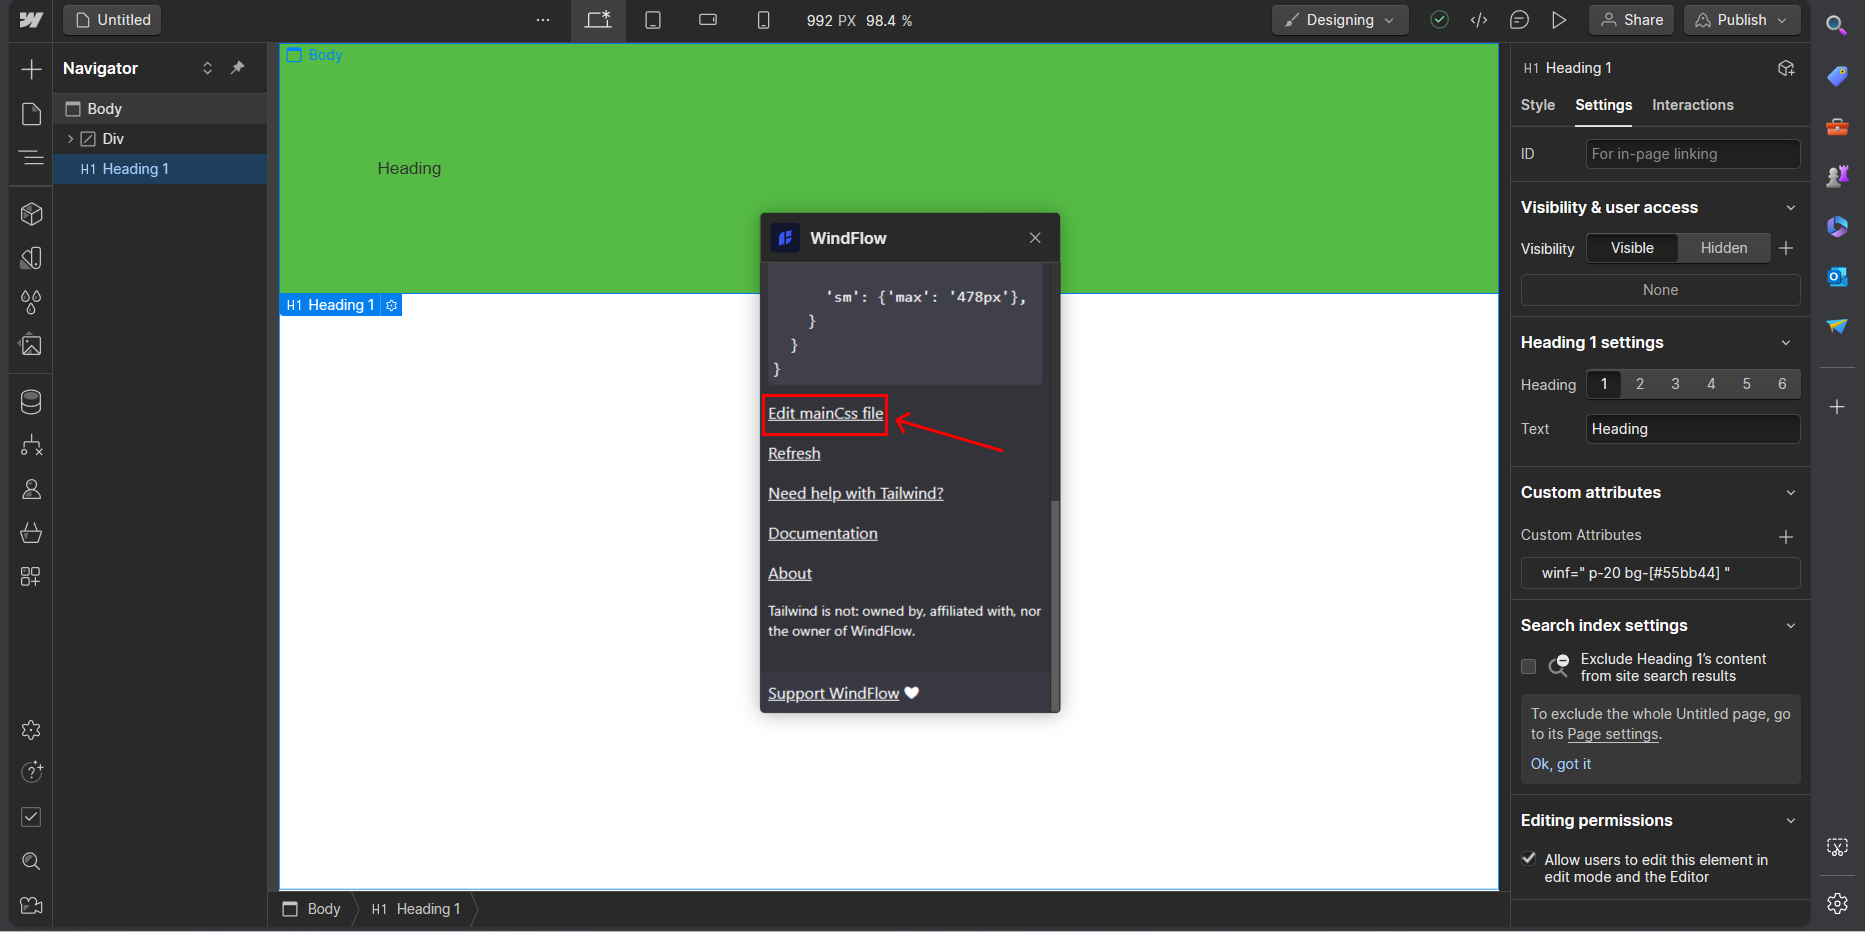
You can also click the other links that may help you.
If some stuff does not work as intended, try clicking Refresh (the button in WindFlow) first. If it still does not work, try closing and relaunching WindFlow. If again it does not work, try reloading the page. Finally, if all else fails, contact me.
If you like WindFlow, don’t forget to click Support WindFlow!
Dealing with Webflow components
This section notes some important things to know when using WindFlow with Webflow components.
Some limitations prevent WindFlow from automatically affecting the style of elements inside a component, even after the classname has been appended properly. Read more to understand this limitation.
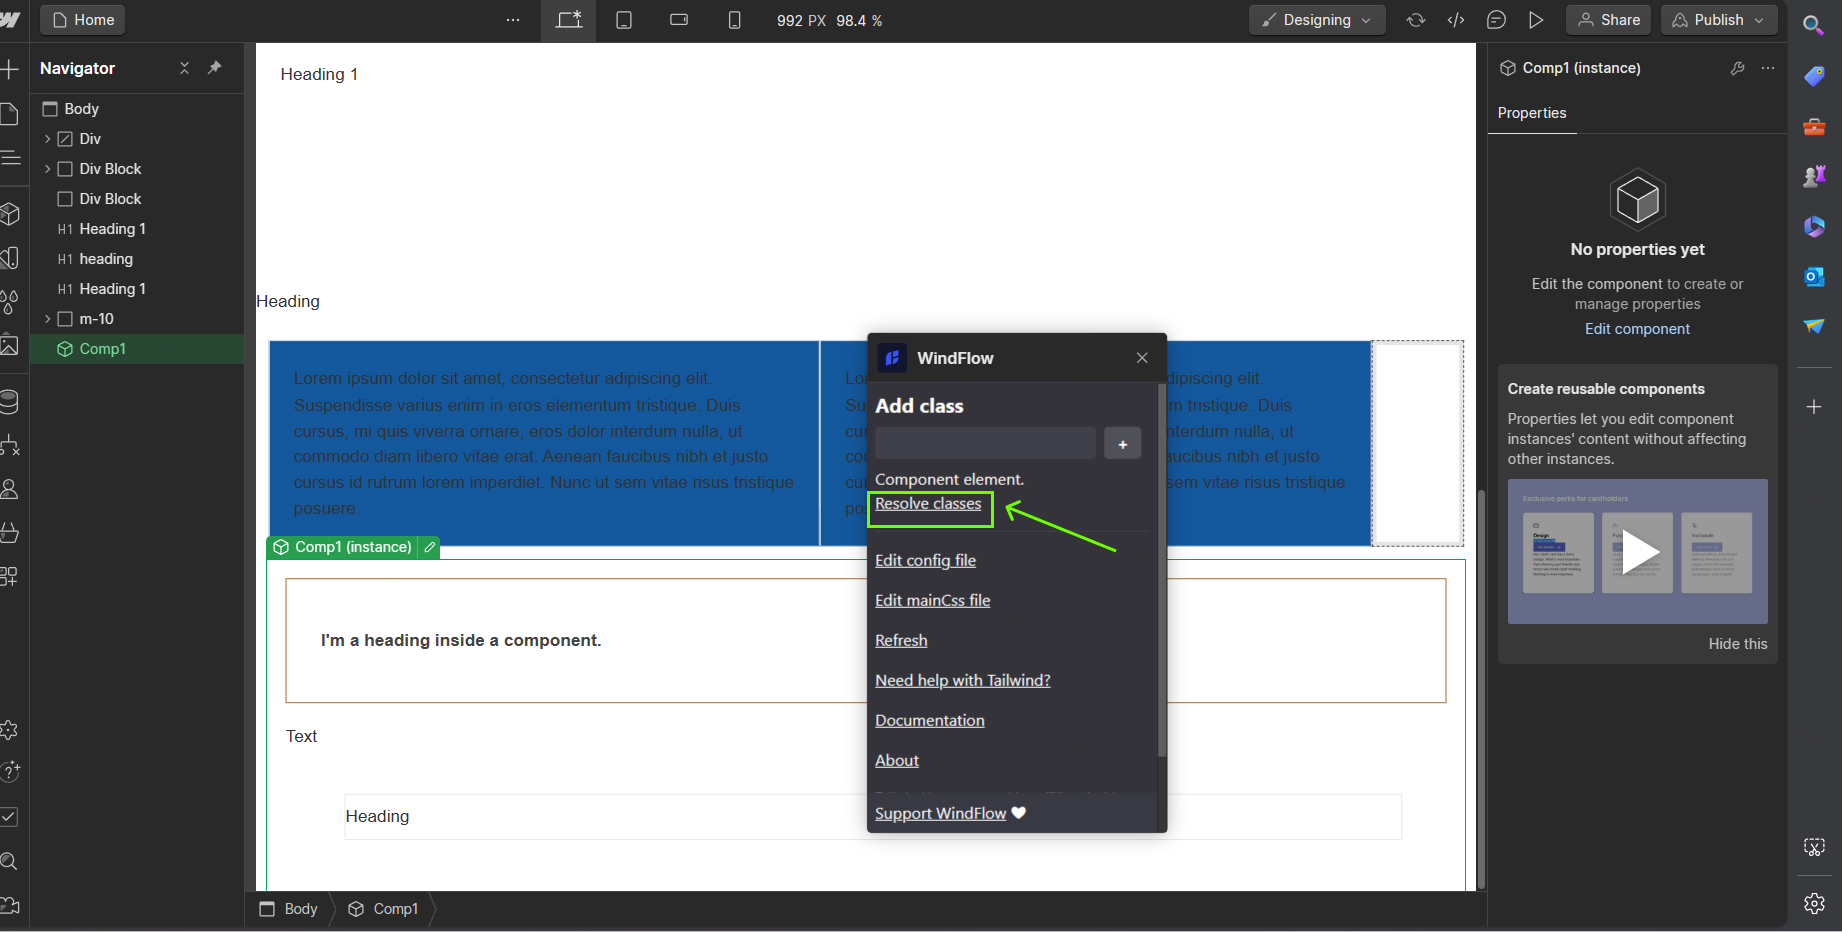
When selecting a component instance, you will see a message saying it’s a component. It also shows a button that says Resolve classes. We’ll show what this means later.
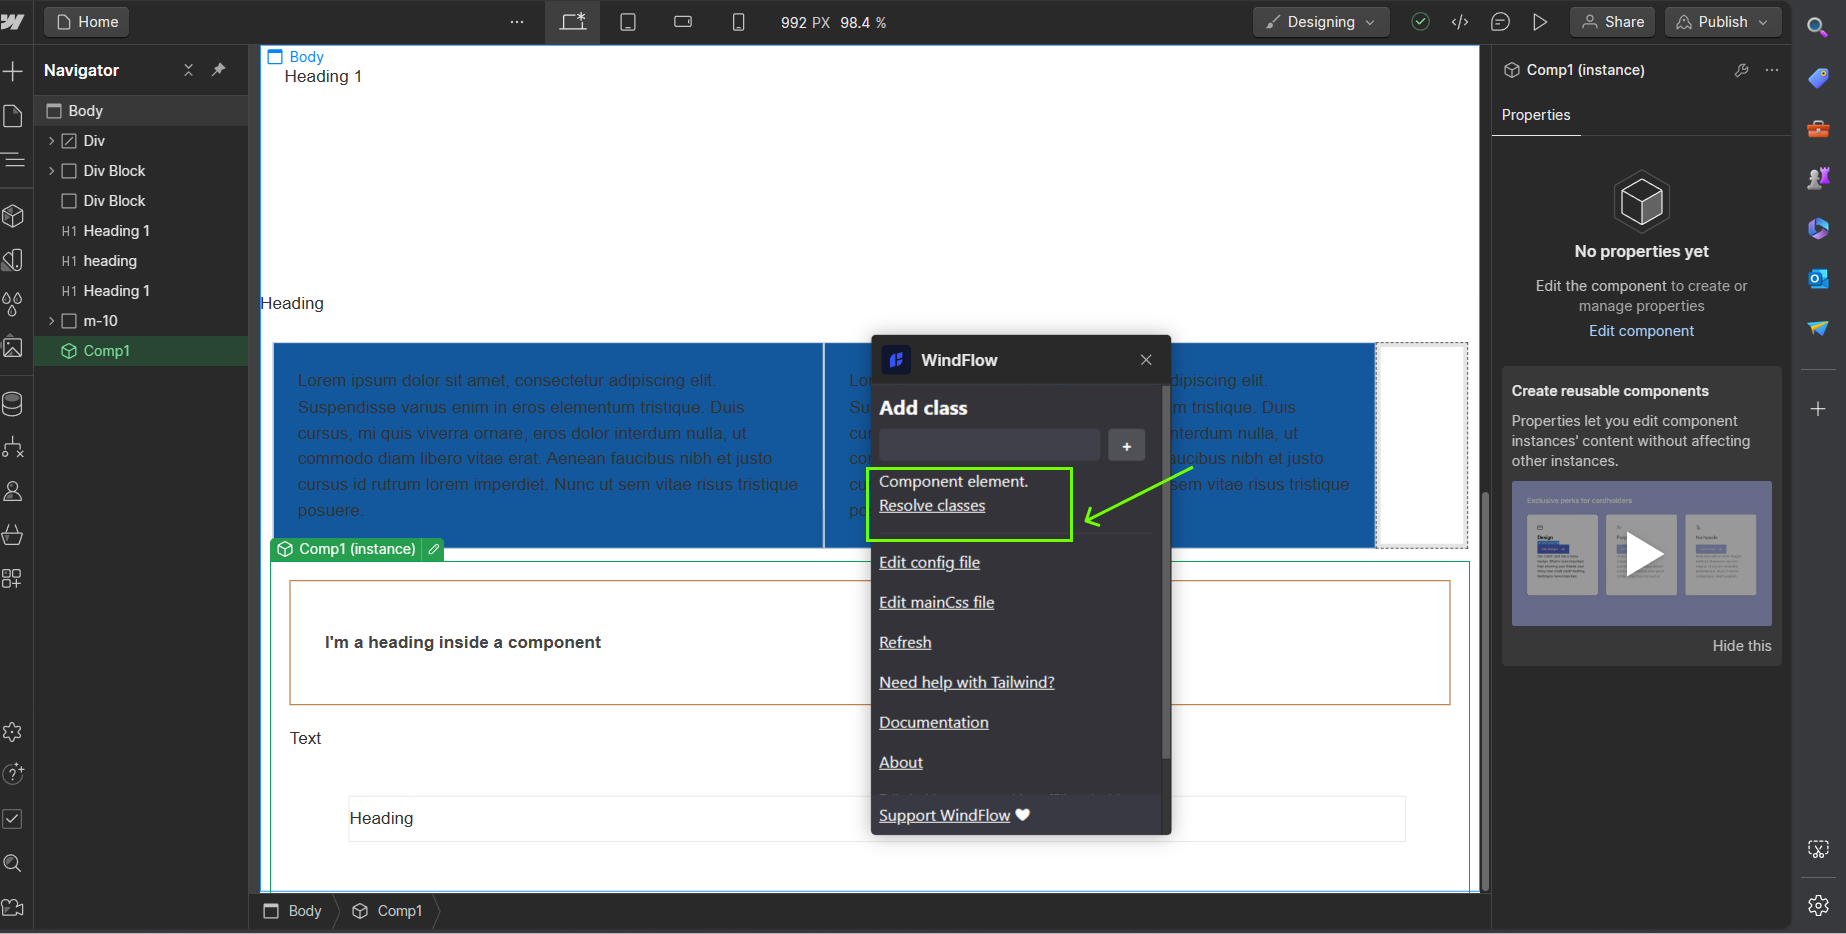
Select an element inside the component.
Add a class.
Exit the component.
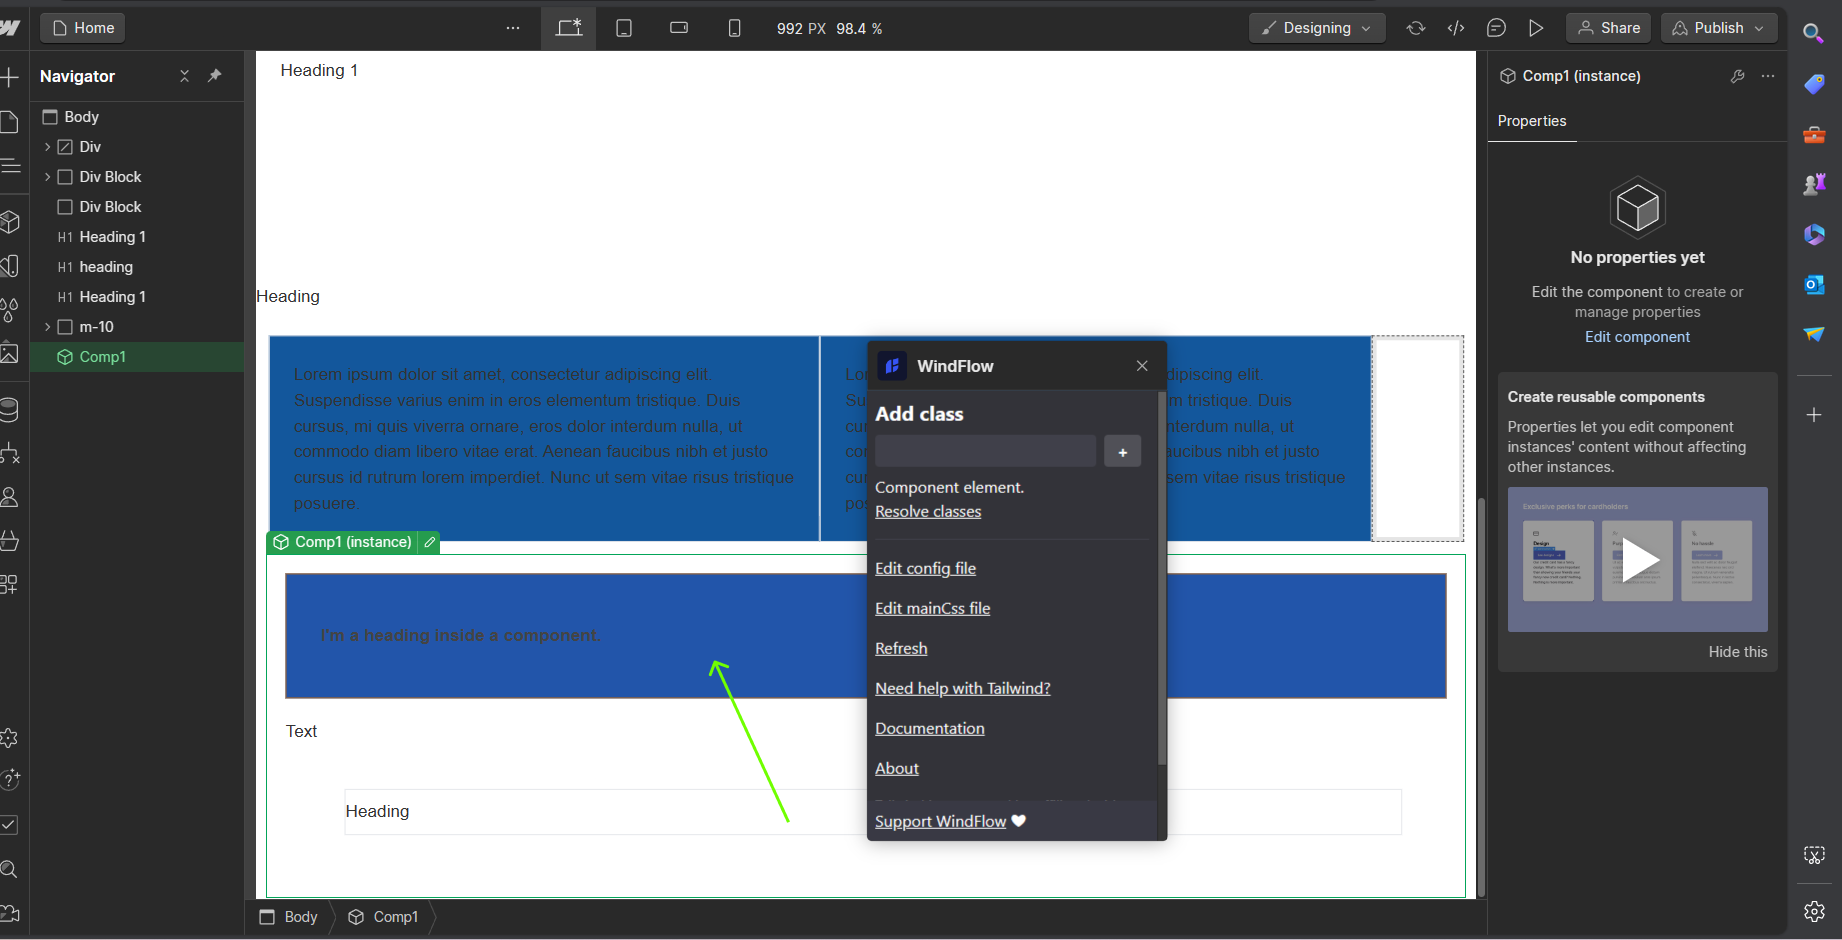
Notice that the style did not apply automatically. This is caused by a limitation within how WindFlow and Webflow interacts.
To solve this, what you can do is add all classes you need first. Exit component. Then click Resolve classes.
Then the class takes effect.
Limitations
As mentioned in basic functionalities section, under the hood, there is a winf attribute which stores the classnames.
Windflow was originally planned to use the actual class attribute, but some special characters of Tailwind classes create conflict with Webflow default formatting of classnames. Here’s the thing: When you try to put special characters like [ ] # ( ) + on your classnames, Webflow converts them to -.
For the most part, using data-attributes for styling is not really an issue. But just a heads up, if you personally or your team does not like data-attributes for styling, let’s see again after Webflow decides that it’s unnecessary to convert special characters.
IMPORTANT: Please read dealing with components section!
In addition to the previous section, style tags are local to a page. This causes trouble with components. Meaning, when you have classnames inside a component, you have to resolve them on every page where an instance of that component exists. REST ASSURED, this is underway of being fixed!
Thank you
Thanks for installing WindFlow and reading through the documentation. You are now ready to use WindFlow to make amazing projects!
If you encounter a problem, contact me at windflow@micoirvin.com.
Contact me